Key Takeaways
- Change default admin credentials immediately: Default usernames and passwords are widely known entry points for hackers. Make yours unique and complex for real router protection.
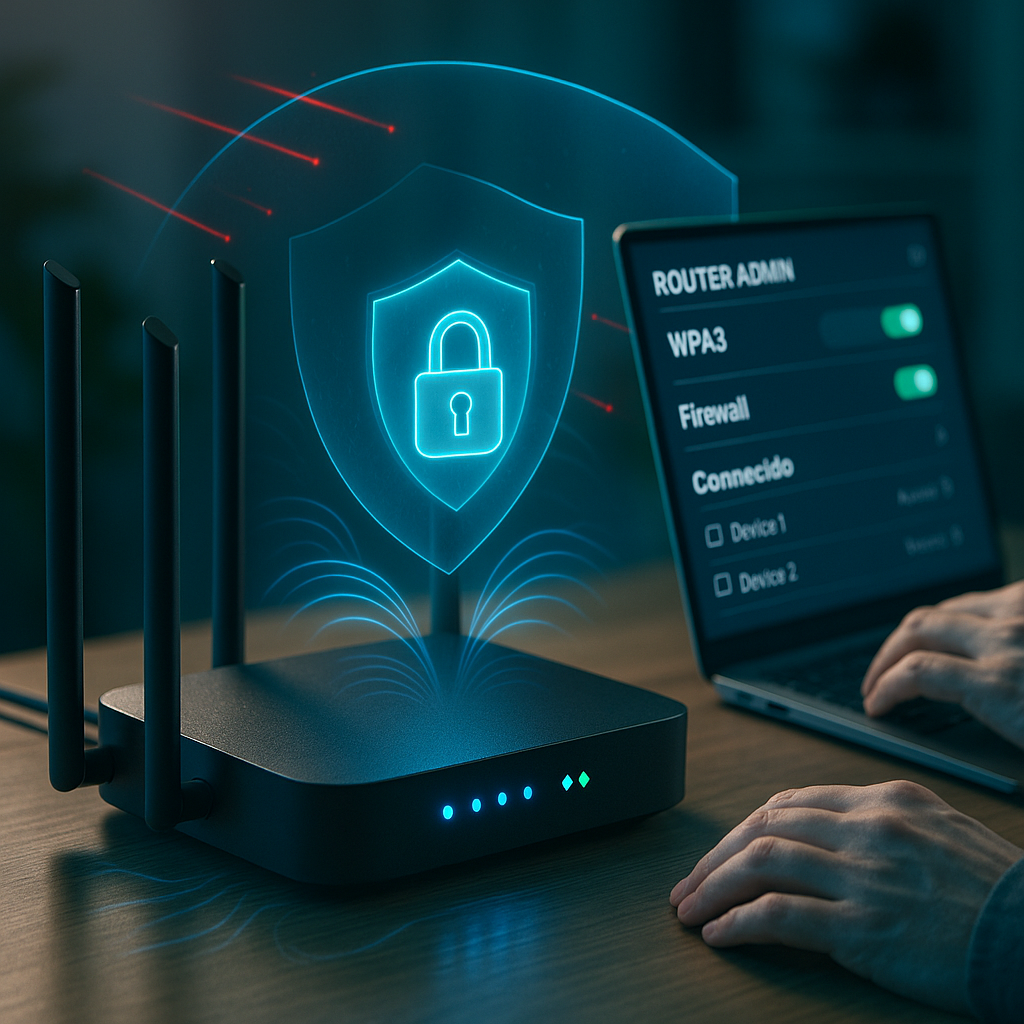
- Upgrade your Wi-Fi encryption to WPA3 where possible: WPA3 offers the strongest wireless network security, making it far more difficult for outsiders to snoop on or crack your connection.
- Keep router firmware updated for ongoing defense: Regular firmware updates patch vulnerabilities and unlock new security features. Set calendar reminders to check for updates at least quarterly.
- Disable risky features like WPS, UPnP, and remote management: Even with strong passwords, features like WPS and UPnP can leave backdoors open. Disabling them minimizes stealth attacks on your secure home network.
- Craft strong, one-of-a-kind Wi-Fi passwords: Use lengthy, complex phrases with numbers and special characters to reinforce your Wi-Fi encryption and minimize brute-force intrusion risks.
- Enable your router’s built-in firewall: This adds a protective layer that blocks suspicious inbound traffic and thwarts threats before they can reach your devices.
- Set up a separate guest network for visitors: Isolating guest devices from your main network keeps your personal data, smart home devices, and work files safer.
- Consider hiding your network SSID: Concealing your Wi-Fi name adds a speedbump for hackers, making your home network less visible and less likely to be targeted.
- Regularly review connected devices: Scan your network for unfamiliar devices. Swift action here can stop intruders before real damage is done.
- Monitor for signs of Wi-Fi hacking: Unusual internet slowdowns, strange logouts, or device disconnects can signal issues. Address these immediately to keep your digital home secure.
By following these quick actions, especially by disabling lesser-known but vulnerable features like WPS and UPnP, you will greatly strengthen your Wi-Fi router security with minimal effort. Now, let’s explore how you can implement each step confidently, even if you aren’t a tech expert.
Introduction
Everyday internet users often overlook how easily a home Wi-Fi router can become the pathway for cyberattacks. Whether it is a default password left unchanged or a critical firmware update ignored, small oversights can unintentionally invite cybercriminals into your digital life.
Yet, fortifying your Wi-Fi security is not about technical complexity or hours spent in confusing menus. Simple changes, such as adopting WPA3 encryption, disabling high-risk features, and setting unique, robust passwords, can transform your wireless network into a digital stronghold. Let’s walk through actionable, user-friendly strategies that turn your router into a resilient gatekeeper, keeping your connections and data secure.
Step 1: Change Your Default Router Login Credentials
The first and most critical step toward a secure router begins with updating the admin credentials. Most routers arrive with standard usernames and passwords like “admin/admin” or “admin/password.” These default logins are well-catalogued across the web and regularly exploited by attackers.
Un passo avanti. Sempre.
Unisciti al nostro canale Telegram per ricevere
aggiornamenti mirati, notizie selezionate e contenuti che fanno davvero la differenza.
Zero distrazioni, solo ciò che conta.
 Entra nel Canale
How to Change Your Router Admin Credentials
- Enter your router’s IP address (commonly
192.168.0.1,192.168.1.1, or10.0.0.1) into your browser’s address bar. - Log in using the default credentials (these can be found on a label under your router or in its manual).
- Navigate to the Administration, System, or Management section.
- Find the “Password,” “User Settings,” or similar option.
- Create a strong, new password that contains:
- At least 12 characters
- Uppercase and lowercase letters
- Numbers and special characters
- No personal information or common words
Why it matters: Default credentials are like leaving keys under your doormat. According to a 2021 cybersecurity report, 41% of home router incidents began with factory-set usernames and passwords. Simply changing them drastically reduces your vulnerability.
Treat your router password with the same seriousness as your banking credentials. This single action shields every internet-connected device in your home, forming a bedrock for all your future security steps.
Step 2: Update Your Router’s Firmware
Firmware is your router’s operating system. Like all software, it requires regular updates to fix vulnerabilities, boost performance, and add security improvements.
How to Update Your Router Firmware
- Log in to your router’s admin panel with your credentials.
- Navigate to Firmware Update, Router Update, or similar sections (often under Advanced Settings, Administration, or Management).
- Initiate a check for updates, or download updates if prompted (many routers now check automatically).
- Follow on-screen instructions to apply any available firmware updates.
- Allow the router to restart fully upon completion.
For older routers: You may need to manually download the latest firmware from the manufacturer’s website and upload it through your router’s admin panel.
Why it matters: Unpatched firmware can be a goldmine for attackers. In the infamous 2018 VPNFilter attack, over 500,000 routers with outdated firmware were compromised, exposing sensitive user data and the entire network traffic. By updating your router every couple of months, you close doors to new and evolving threats.
Set a recurring reminder. Consider checking alongside your quarterly digital hygiene routines. This ensures you benefit from the highest level of security and the latest router features.
Step 3: Enable Strong Wi-Fi Encryption
Encryption protects your data as it travels between devices and your router, making it unreadable to outsiders. The type of Wi-Fi encryption you use is a crucial security decision.
How to Enable Strong Wi-Fi Encryption
- Log in to your router’s admin panel.
- Navigate to Wireless Settings, Security Settings, or similar.
- Seek out Security Options, Encryption, or Security Mode.
- Select WPA3 if it’s available for your hardware.
- Choose WPA2-PSK (AES) if WPA3 is not supported.
- Never select WEP or original WPA; these protocols are outdated and insecure.
- Create a new, strong Wi-Fi password using diverse characters, as described in Step 1.
- Save the settings and reconnect your devices with the new credentials.
For dual-band routers: Apply strong encryption to both 2.4GHz and 5GHz networks.
Why it matters: Weak or absent encryption invites eavesdropping. Modern protocols like WPA3 and WPA2-AES dramatically increase the effort required to crack your Wi-Fi. While a WEP network can be breached in minutes, a WPA2 or WPA3 setup with a strong password resists intrusion attempts for years based on current computational capabilities.
You may temporarily need to reconnect all devices after upgrading encryption, but the enhanced peace of mind far outweighs the minor inconvenience.
Step 4: Disable WPS and UPnP Features
Convenient as they may seem, Wi-Fi Protected Setup (WPS) and Universal Plug and Play (UPnP) frequently open doors to attackers. Many users are unaware of these features or mistakenly think they improve security.
How to Disable WPS
- Access your router’s admin panel.
- Locate WPS under Wireless, Security, or Advanced settings.
- Turn off or disable all WPS options.
- Save and exit.
How to Disable UPnP
- While logged into the router admin panel, look for UPnP in Advanced Settings, NAT/QoS, or Administration.
- Disable or uncheck Enable UPnP.
- Save the updated configuration.
Why it matters: WPS offers a vulnerability that can bypass even the strongest passwords via a design flaw. Similarly, UPnP auto-configures ports, often leaving open doors for malware. In 2020, security research identified that over 40% of home network breaches traced back to weaknesses in these features.
Disabling both not only prevents many attempted attacks, but also rarely interferes with normal home use. Consider this a major, low-effort win for network safety.
Step 5: Create a Guest Network for Visitors
Today’s routers often allow separate networks for visitors, giving them internet access without letting them interact with your personal devices.
How to Set Up a Guest Network
- Access the router’s admin panel.
- Select Guest Network, Guest Access, or a similar option.
- Enable the feature.
- Set a unique SSID (network name) that identifies it for guests.
- Protect it with a strong password distinct from your main one.
- Enable guest or AP isolation if available.
- Restrict guests from accessing local network resources.
- Optionally, activate automatic deactivation or scheduling features.
Why it matters: Your main home network contains personal documents, smart home controls, printers, and more. Connecting any visitor’s potentially insecure device to this network raises risk. A guest network is a digital quarantine, ensuring friends, family, and contractors can use your internet but never gain access to your private files or connected gadgets.
This separation works especially well for devices with suspect security, like smart speakers or IoT equipment, further reducing your exposure if vulnerabilities are discovered in those products.
Un passo avanti. Sempre.
Unisciti al nostro canale Telegram per ricevere
aggiornamenti mirati, notizie selezionate e contenuti che fanno davvero la differenza.
Zero distrazioni, solo ciò che conta.
Entra nel Canale
For more on protecting your smart home and connected devices, see our expert smart home security tips.
Step 6: Enable Network Firewall and MAC Filtering
Your router’s firewall and MAC address filtering provide another layer of defense. These features control traffic flow and limit entry to recognized devices.
How to Enable and Configure Firewall Settings
- Log into your router’s admin panel.
- Locate Security, Firewall, or Advanced Settings.
- Ensure the SPI (Stateful Packet Inspection) firewall is active.
- Block WAN requests or Respond to ping to help your router remain hidden from external detection.
- Set the firewall to High security if the option is available.
How to Set Up MAC Filtering
- Under MAC Filtering or Access Control, turn on the feature.
- Opt for Allow mode, so only known devices are permitted.
- Add MAC addresses for all your trusted devices (found in network settings, device packaging, or your router’s current device list).
Why it matters: A firewall filters out unwanted and potentially malicious traffic at the network’s edge. Meanwhile, MAC filtering blocks unauthorized devices even if they acquire your network password. While advanced attackers can spoof MAC addresses, this is still an effective way to deter common cybercriminals and opportunistic threats.
For an extra security boost, regularly audit your device list to spot unfamiliar connections. This is a simple yet powerful routine for any digital home.
Step 7: Disable Remote Management Access
Remote management lets you adjust router settings from anywhere, but it mostly benefits cyberattackers rather than home users. Unless you have a compelling reason and know exactly what you are doing, keep this feature off for maximum security.
How to Disable Remote Management
- Access your router’s admin panel.
- Find Remote Management, Remote Administration, or similar settings.
- Confirm this feature is disabled or set to Off.
- If you must enable it (such as in a business or remote support context), strictly control IP access, create complex credentials, and limit usage to secure, trusted networks only.
This is a crucial safeguard for high-security environments and for anyone handling sensitive material, from small business data to telehealth consultations or financial transactions at home.
Conclusion
Building a resilient home network starts with fundamentals. Unique credentials, timely firmware updates, and robust Wi-Fi encryption set the stage for digital safety. By proactively updating admin passwords, keeping firmware current, and implementing WPA2 or WPA3, you construct a formidable first line of defense against today’s cyber threats. Strengthening your setup further, by disabling vulnerable features, setting up a segregated guest network, and enabling both firewall and MAC filtering, establishes comprehensive barriers against intrusion.
Adopting these measures not only secures your privacy, but also empowers you to manage your digital environment with confidence. In an age where cyber risks evolve rapidly and touch every aspect of modern life, these practices deliver true peace of mind and keep your data, devices, and loved ones protected. Looking to the future, those who make security a habit rather than an afterthought will be best positioned to benefit from the conveniences of our hyper-connected world, without compromise.
Whether you are a savvy tech enthusiast, a cautious parent, or a remote worker relying on secure connections, strengthening your home router is a powerful, proactive step. The question is not if you should implement these improvements, but how soon you will put them in place to safeguard your digital life. Let TechSensei guide you from noob to ninja in Wi-Fi security and beyond.


Leave a Reply